Before adjusting the sight, make sure:
- The sight was installed correctly
- The pins of the sight are inline with the arrow and bowstring
- The vertical adjustment is at zero ( or at a point where it can be adjusted up or down )
- You are shooting the proper arrow and your equipment is tuned.
To sight in, first start off shooting at 10 yards with your top pin. If your bow is off by a large margin, your arrow still should hit the target/target wall at 10 yards. Use common sense and check the trajectory to make sure the arrow is not going to contact the sight housing and it is not going to miss the target.
Quick links to sections on this page
- ADJUSTING ARCHERY SIGHT PINS
- ADJUSTING 2ND AXIS OF AN ARCHERY SIGHT
- ADJUSTING 3RD AXIS OF AN ARCHERY SIGHT
Take your first shot
Draw, Aim, Fire and notice where the arrow goes.
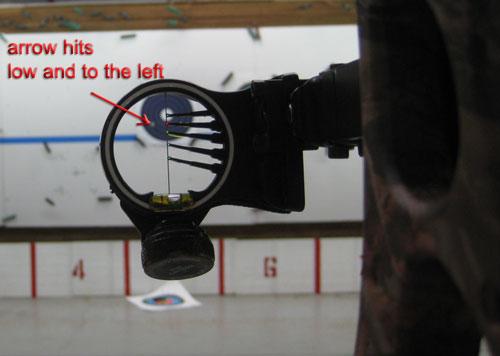
Adjust your pin
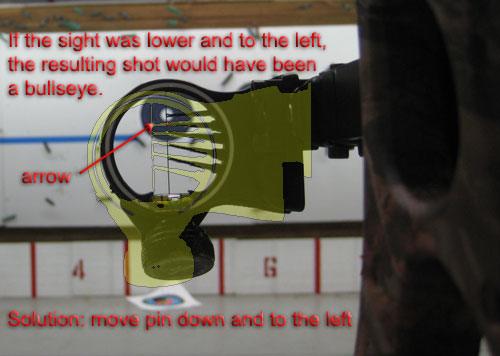
Where ever the arrow goes, you have to “chase” the arrow with your pin. If the arrow hit low and to the left, you must move your pin low and to the left.
Repeat this until you are consistently hitting the bullseye. Once hitting the bullseye at ten yards, move back to 20 yards and readjust so your top pin is sighted in for a 20 yard shot. Your top pin will be your 20 yard pin.
Continue sighting in your sight using this method with the remainder of your pins. With the speeds of current bows, we recommend you using a pin for every 10 yards starting at 20 yards. A five pin sight will have pins for 20, 30, 40, 50 and 60 yards.
Record your settings
Once all of your pins are “dialed in”, make a record of their positions with a pencil and a piece of paper. This will be a good reference if you ever have to do work on the current sight or install a new sight in the future.
Tip For Competitive Archers
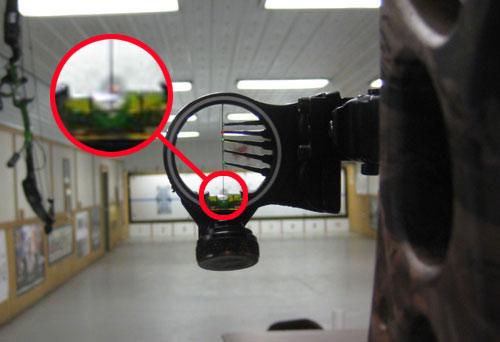
A useful tip is to use the frame of your sight for an extra “pin”. In this example we will first sight in the housing of our sight for a desired yardage (for field archers, we suggest 80 yards). Once the bubble/wire intersection is set for our desired yardage, we can manually adjust the other pins. We just turned a five pin sight into a “six pin” sight!!
How to adjust the 2nd axis of an bow sight
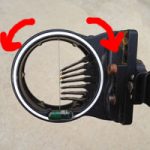 The second axis of your bow sight refers to the clockwise/counter clockwise position of the sight housing. If your archery sight has a second axis adjustment, you will want to adjust your sight until your pins are plumb with your bow/bow string. For our demonstration, we will assume the flat side of the compound bow’s riser is parallel/plumb with the bowstring.
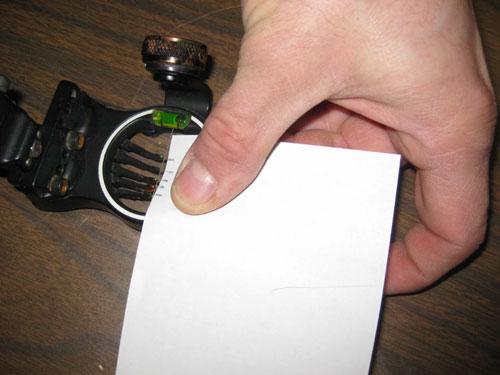
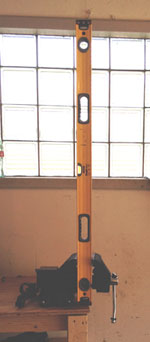
1, In order to simplify adjustment of the archery sight, mount a 2 or 4 foot level vertically in a vise. Adjust the level so the bubble is between the lines or plumb.
2. Take a secondary level and check to see that your level is plumb and not pitched to the front or back.
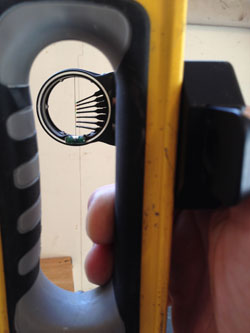
3. Once your main level is plumb on all sides, we can take our sight and place the mounting plate against the side of the level. While holding the sight flat against the level, bring the sight arm horizontal or level. Is your sight reading level? If not we will have to adjust the 2nd axis (step 4). If your bubble is showing level, proceed to the 3rd axis adjustment section.

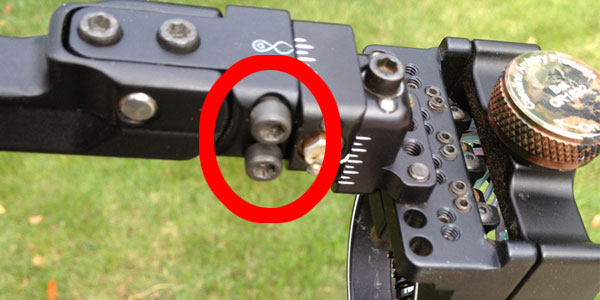
4. Adjust the 2nd axis. Different sights may adjust differently so refer to the user’s manual for instruction. If your sight does not offer adjustment and is not plumb, you may have to shim one of your mounting screws with washers or whatever material you can find. The bow sight we are using in our example is a Spot Hogg Hogg-It.
To adjust the Hogg-It bow sight, you must adjust the 2nd axis screws until you achieve a level reading. When you have adjusted the clockwise/counter clockwise adjustment until you read level while the sight arm is horizontal, you are finished.
How to adjust the 3rd axis of an bow sight
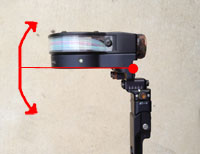 The 3rd axis of your bow sight refers to the perpendicular orientation of your bow sight in reference to your bow’s center line. Adjustment of the third axis swings the bow sights head in and away from the archer as if it were on a hinge. If the third axis is not adjusted, when an archer tilts the bow up or down for a shot, the bow sight’s level will not read true and the shot will be off its mark.
When the 3rd axis is perfectly adjusted, the compound bow will remain in perfect vertical alignment during level, uphill and downhill shots.
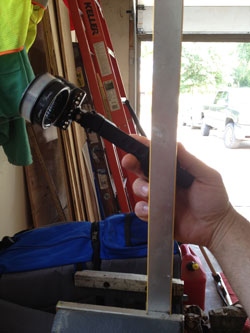
1. Place your sight alongside the level (temporary jig from 2nd axis adjustment instructions) and tilt the sight upwards and downwards. Read the sights built in level at both positions. If it is off, the third axis must be adjusted.
2. Adjust the sight in or out until the sight reads level at the upward and downward position. When it reads level in all possible positions, your bow sight’s 3rd axis is set and you’re ready to shoot!!
Go to your range and shoot uphill and downhill shots. Notice where you are hitting. If your arrows are off, your sight may need minor fine tuning due to your bow torquing at full draw.
