An archery draw board is a mechanical device that allows observation of the full draw cycle of a compound bow. This is a great tool because elements like timing, point of peak weight, nock travel, and draw length are tough to measure accurately while manually drawing a compound bow. In addition to observations, measurements such as the peep to arrow and peep to pins distances can be taken. Fairly inexpensive to make or buy from a manufacturer, an archery draw board can ease the tuning process for any bow technician.
In this article, we will look at two different archery draw boards, the Last Chance Archery Draw Board and a homemade one that can be built with components found at your local hardware store.
The Last Chance Archery Draw Board
The LCA Draw Board is by far your best archery draw board option if you already own an LCA bow press. The installation of the draw board is simple; just remove the square plastic caps off the bow press’s arms and insert the LCA Draw Board components. Once that is done, you’re ready to use your draw board.
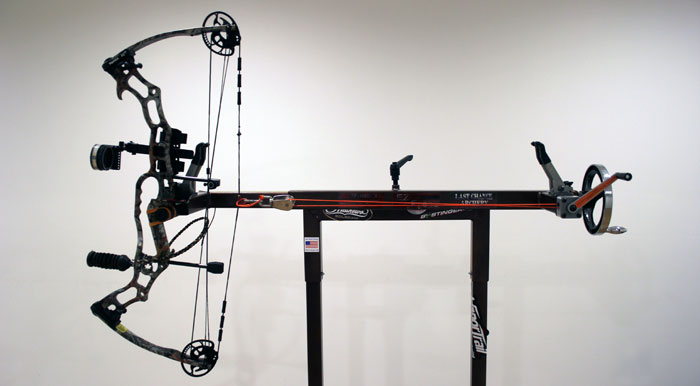
To use the draw board, fix your bow to the rubber holding arm with the provided elastic band, payout the draw board’s cord, attach the safety line around the string and insert the draw board’s hook into the d-loop. Once this is done, you’re ready to start drawing the bow via cranking the draw board.
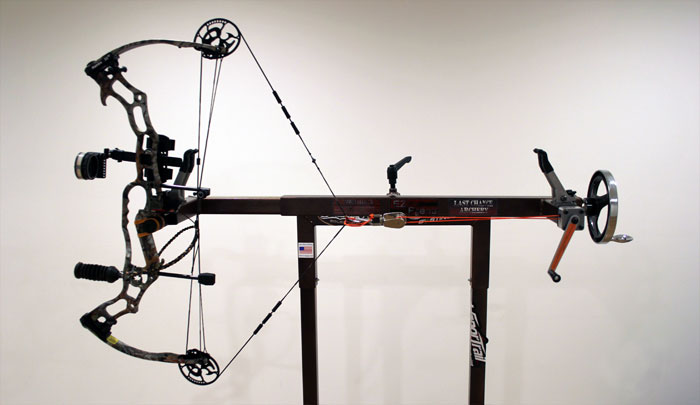
While cranking the LCA Draw Board’s winch handle, you’ll be able to observe different elements of the draw cycle.
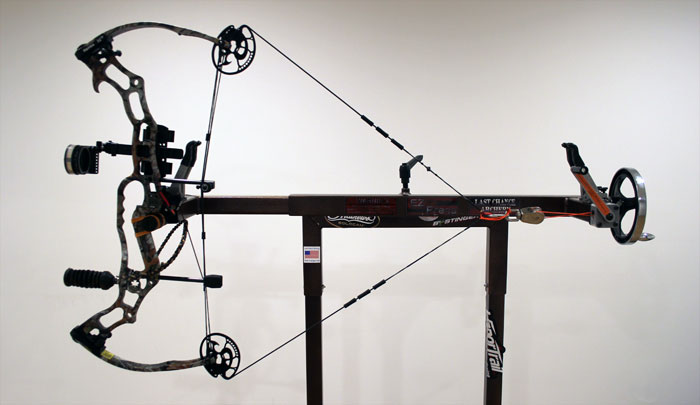
Once you get near full draw, you’ll be able to observe your cams’ timing. If you wanted to micro-adjust the draw of the bow while checking the timing, simply crank the bow press’s handle in small increments to increase or decrease the travel of the draw. To return your bow from full draw, just press the safety lever and manually pay out the draw board’s cord with the draw board’s crank.
As you can see, the LCA Draw Board is easy to operate and is really the “icing on the cake” of any LCA EZ Press. Although not advertised as such, it’s easy to imagine that an LCA EZ Press, outfitted with the draw board, floor stand, and deluxe 2nd axis option, could be used as a mechanical shooting device. For more information on the LCA Draw Board, visit their website at http://lastchancearchery.com/.
How to make a homemade archery draw board
Most of the materials needed for your archery draw board can be purchased at any local hardware store. For our style of draw board, you must purchase a worm drive winch in order to connect our cordless drill to it. If you can not locate a worm drive winch at a local store, click on the link below.
- (1) 6 or 8 foot 2×6
- (1) worm drive winch
- (1) 3/4 inch pipe threaded floor flange
- (1) 5 inch long nipple of 3/4 pipe
- rubber tape
- (1) snap hook
- (1) quick link
- short piece of 1/8 inch poly rope
- (8) 5/16″ x 1 1/2″ lag screws
- cordless drill
How to make an archery draw board
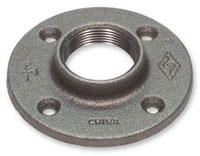 The first thing we will install is our 3/4 inch flange. Make a mark around 6 inches from one end of the 2×6 and center it. Hold the flange on this mark, and mark the four holes. Pre-drill these holes with the appropriate drill bit and mount the flange using (4) 5/16″ x 1 1/2″ lag screws.
- Screw the 5-6 inch nipple into the flange and tighten with channel locks or a pipe wrench. Wrap all the exposed metal with rubber tape.
- Measure from the front of the pipe (where the bow’s grip will hit) back down the 2×6 to figure out where you want to mount your winch. If you figure that the largest brace height plus the longest draw length equals around 41 inches, you want the winch at least a foot behind that. If you intend on using a bow scale on this draw board, you need to figure that in as well. Lets say your scale is 12 inches long. You would want to add that to the 41 and make your winch at least 60 inches from the front of the pipe. This will give you a cushion of space. Mark your 2×6.
- Place the winch on your mark and center it with the 2×6. Trace the holes, pre-drill, and mount the winch.

- If your winch came with a steel cable, you can shorten the cable to the length needed. Attach the cable or rope to the winch.
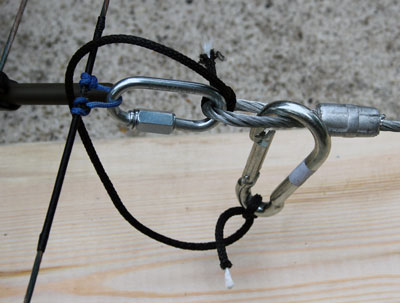
- At the end of the cable, you will now install the quick link, 1/8 inch rope, and snap hook (safety device).
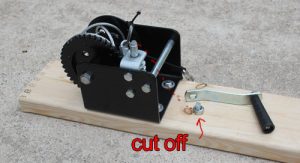
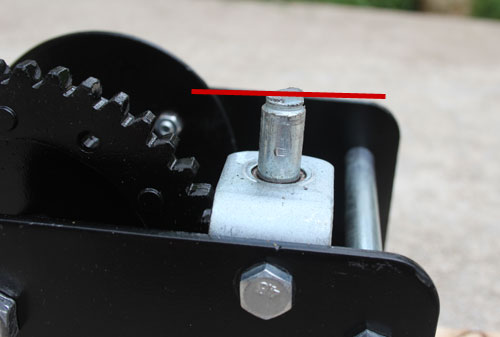
- Next, we will cut the threaded portion of the winch handle assembly off so that our cordless drill will grab the round part of the handle rod.
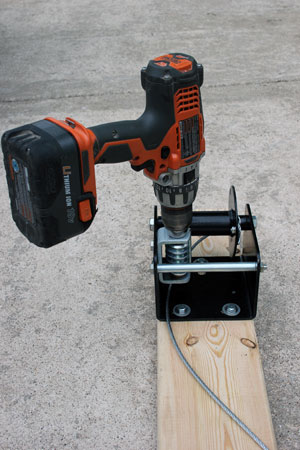
- Attach your cordless drill to the handle rod and tighten.
Your archery draw board is now complete.
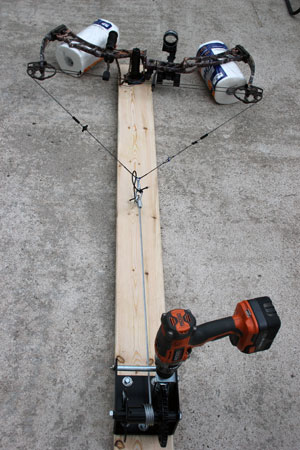
How to use an archery draw board
- Place your bow so the pipe rests in the throat of the grip.
- Shim up the riser with two cardboard boxes or two rolls of paper towels. Shimming the riser off the 2×6 will ensure the limbs stay free from contact with the ground or work bench.
- Attach the quick link to the d loop and secure the “safety” snap hook around the bowstring. The 1/8 inch rope and snap hook will prevent bow damage if the d loop fails.
- Time to draw the bow. Run the drill so the handle rod is spun clockwise. Bring the bow back to full draw while not overdrawing and potentially damaging the bow.
- To bring the bow back to rest, run the drill in reverse (counterclockwise).
You now have an inexpensive slick archery draw board to help you in your bow tuning adventures! Please watch our video below for a quick demonstration.