Whitetail deer hunting produces outstanding memories in the field and it also provides excellent meat for our families to eat. After a successful hunt, it is important that we take care of the animal and process it in a timely manner. Given the right conditions, we can age the venison, process the venison, and store the venison so we can enjoy it for a year or longer.
The majority of hunters leave butchering deer up to the “experts” but we believe, that with some instruction, anyone can butcher their own deer. Butchering deer can be intimidating but after the first couple of times, it gets easier and easier. Let’s look at the proper steps to ensuring your harvested animal goes through the right process before ending up in your freezer.
Butchering deer – Field preparation
After killing a deer, it is important to field dress the harvested animal as soon as possible. Removing the entrails properly will ensure the meat does not become gamy and will allow the animal to start the cooling process. After an animal is shot, the temperature will either be our friend or our enemy. No matter what the temperature is, the sooner you field dress the animal, the better. When the temperature is above 45 degrees fahrenheit, the meat will spoil quickly so it is important to dress the deer and get it to cooler temperatures as quick as you can. Click here for instructions on field dressing deer.
Removing the inner loins
When field dressing is complete, now is the time to remove the inner loins if you desire to eat them. This is the deer’s filet mignon and is the tenderest piece of meat you will get from the deer. The inner loin is around 12 inches in length and runs along the inside of the deer’s back bone, ending at the hips. Remove these loins in the field or they will dry out due to being exposed to the air.
Butchering Deer – The aging process
After killing and field dressing the deer, it is time to age the meat. After a deer is killed, it goes into a rigor mortis state in which the muscles are contracted and stiff. Butchering deer while in this state will result in tough meat. After 24 hours or so, rigor mortis stops and the aging process begins.
How does meat get aged?
Aging is the process in which natural enzymes found in the meat break down muscular collagen. Muscular collagen is what makes deer meat tough. As deer get older they develop more collagen thus explaining why older deer are tougher and need to be aged for longer than younger deer.
What temperature should you age meat in?
Before butchering deer, the deer should be aged in temperatures between 32 and 42 degrees fahrenheit. This will let the deer’s natural enzymes break down the collagen while keeping rot causing bacteria dormant. If you do not have a walk in cooler, you can age deer by keeping it cool with ice or by quartering the deer and storing it in the refrigerator. You should age young deer at least two days while older deer should be aged between 5 and 7 days. Remember, the most important thing is to keep the meat between 32 and 42 degrees. Once aged, its time to start butchering deer.
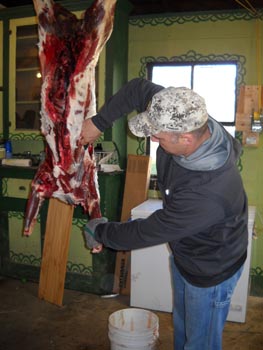
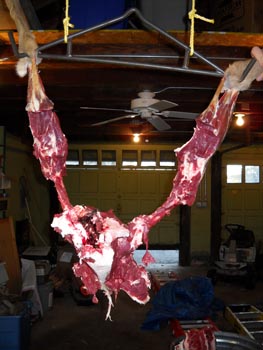
Butchering Deer – The skinning process
Before butchering deer, we must take the hide off. If the deer is hanging upside down from a gambrel, you will start from the top and work your way down to the head. On the hind legs, cut the inner thigh skin from the crotch to the shin area. Once near the shin area, cut all the way around the deer’s leg being careful not to cut the achilles tendon. Once the skin is freed from the leg you can skin the hide off the meat, working from the rear of the animal towards the head.
Once the legs are done and you are at the tail, cut between the vertebrate of the tail so you can continue skinning down the back. Once you have skinned the torso of the deer, you will have to skin the front legs. To skin the front leg area of a deer, make a slit from the inner leg, near the shin, all the way to your already freed skin. Continue skinning until you reach the base of the head. Once at the base of the head, saw off the head with a bone saw, hacksaw, or reciprocating saw. It is time to cut some meat. Click here for more information on how to skin a deer.
Butchering Deer – Order of cuts
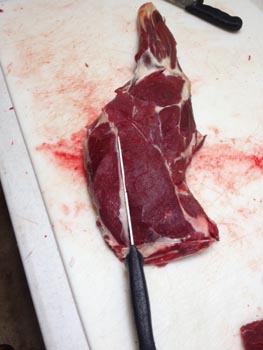
1. Shoulders
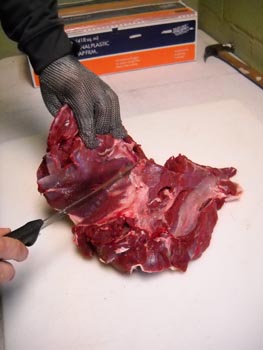
The first part of the deer we butcher is the front shoulders. The shoulder should be pulled away from the torso of the deer to expose the pass through cut zone. Cutting with your knife’s blade parallel to the rib cage, you will pass through the shoulder joint. If having a difficult time finding where to cut, pull the front leg away from the torso and aim you knife strokes for the hinge area.
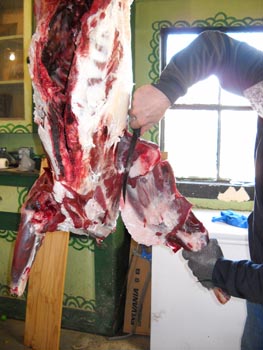
Here are your shoulders ready for trimming.
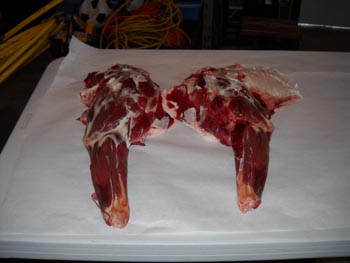
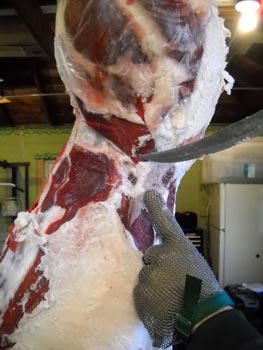
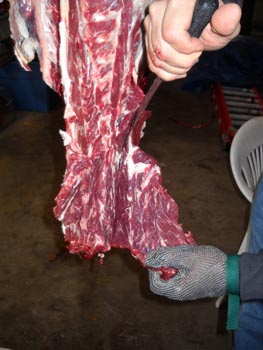
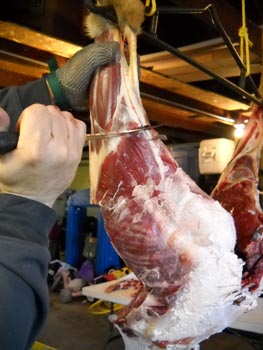
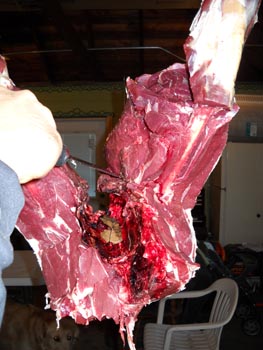
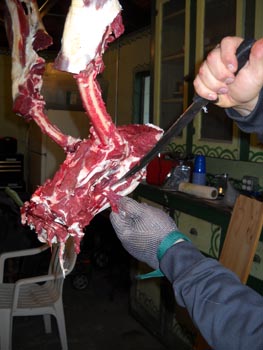
2. Back Straps
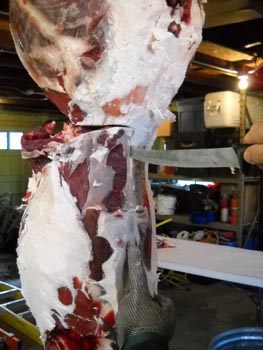
Before removing the back straps, you can shave off any excess fat that has built up in the area. After fat removal, we need to find the knobby part of the hip bone. We will cut just under this bone and to the back bone on both sides. After cutting this initial cross section of the back strap, we will now run our knife down and along the back bone. This cut will run all the way through the neck. We can now return to the initial cuts we made and start peeling and freeing the back strap with our knife. Take your time and try not to leave any of this valuable meat on the back bone. Once you have the back strap down to the front shoulders, you can cut them off.
Two back straps ready for trimming.

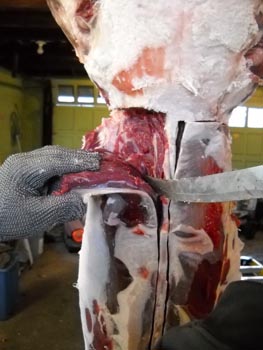
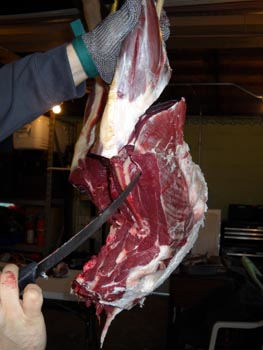
3. Neck meat
The neck of the deer can have quite a bit of meat that is very good for grinding. Pull the meat from the back strap incision and skin the meat off the neck bone. You will work this meat from the top of the neck to the deer’s wind pipe.
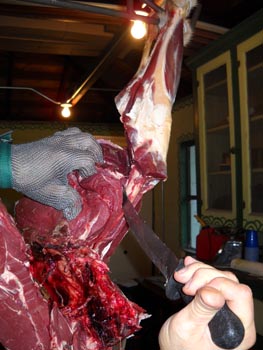
4. Clean up the front half
If you desire, you can now carve out any meat left on the front half of the deer. This can be anything from meat along the rib cage (brisket) to rib cage meat itself. Any of this boned out meat will be excellent for ground meat use.
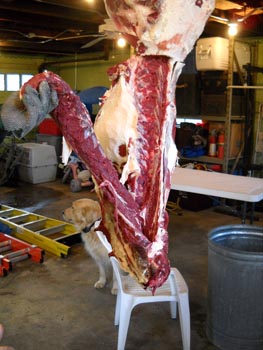
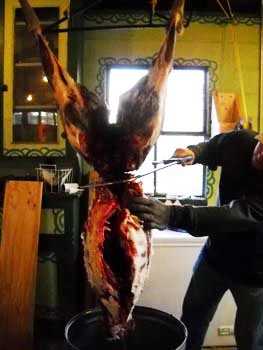
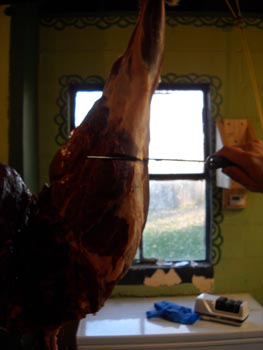
5. Saw the backbone at the hips
Once done with the front half of the deer, we can now saw the backbone leaving us with the hind quarters.
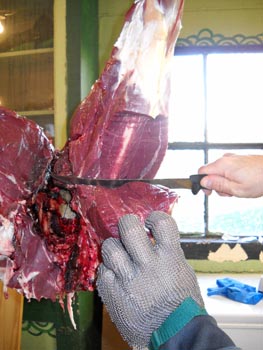
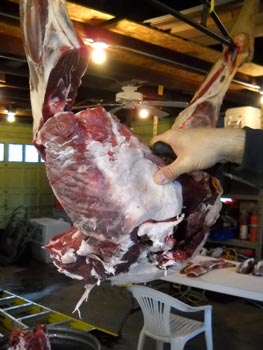
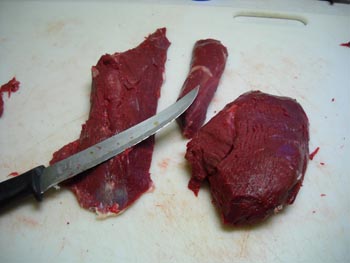
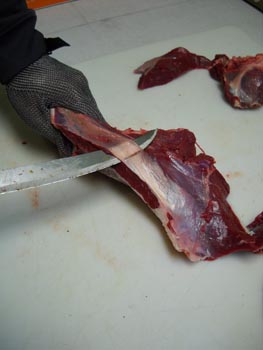
6. Cut out the sirloin
Starting from the knee of the hindquarter, work your knife parallel with the leg bone until you reach the hip. Now turn your knife 90 degrees and finish the cut.

Your sirloin tips are ready for trimming.
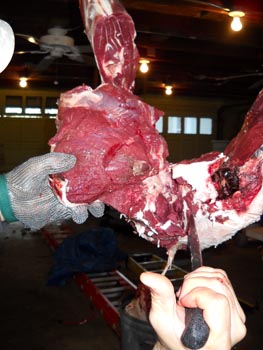
7. Remove the rest of the hind quarter
We leave the hind quarters attached to the pelvic bone during this final butchering stage. Starting on the rear of the leg and just below (upward on the animals leg) the achilles tendon, cut in and to the bone. Now work this cut around the knee and continue to cut so all the meat will be freed from the leg bones and the pelvic bone. This will leave you with a large hunk of roast meat which will be made up of around 3 muscle groups: rump roast, bottom round, and the eye of round. You can pretty much separate these muscle groups by hand with minimal knife work.
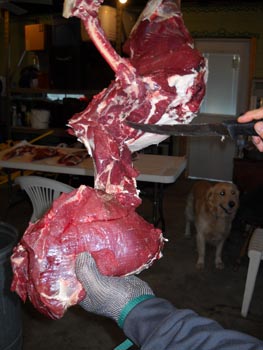
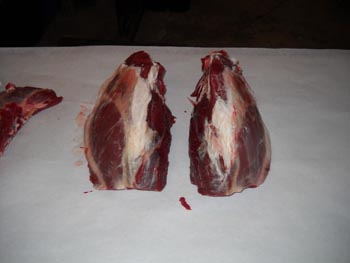
Your finished roasts are ready for wrapping.
8. Finish boning out the hind quarters
Now is the time to salvage meat left behind which we can use for stew meat or ground.
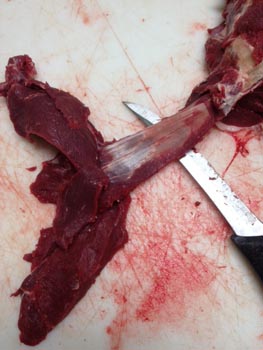
9. Bone out the front shoulders
Now is time to remove meat from the front shoulders. The shoulder bone has a unique upside down T shape to it so make the following cuts to bone it out. Once the T shaped shoulder bone has been cleaned, we can salvage what meat remains for grinding.


10. Finish trimming the cuts
Now is the time to trim all excess fat, “shiny” skin, and tendon material off the meat.
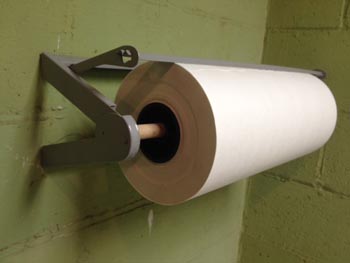
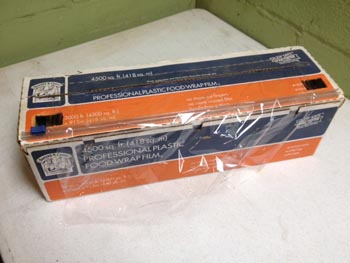
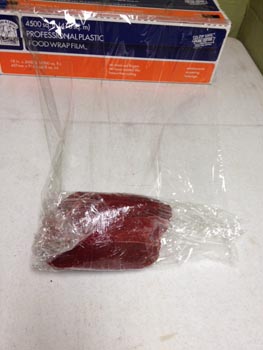
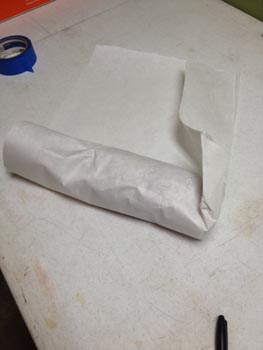
11. Package the meat
With commercial grade plastic wrap, butcher paper, masking tape, and a marker, we can now package and date our meat for freezer storage. These supplies can be found at any wholesale shopping store like Sams, Costco, and can also be found online.
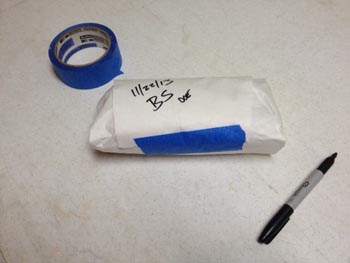
The meat should last a while after packaged in this manner. We have thawed, cooked and ate venison that was frozen for over two years and didn’t have to deal with any freezer burned meat. We hope our butchering deer tutorial has helped you understand how to butcher your own venison. If you have any comments or suggestions, leave them below. Good luck!
Great article thank you for sharing!
This tutorial is extremely helpful. Butchering my own deer has always been such a daunting task, and thus walk-through guide has been extremely helpful